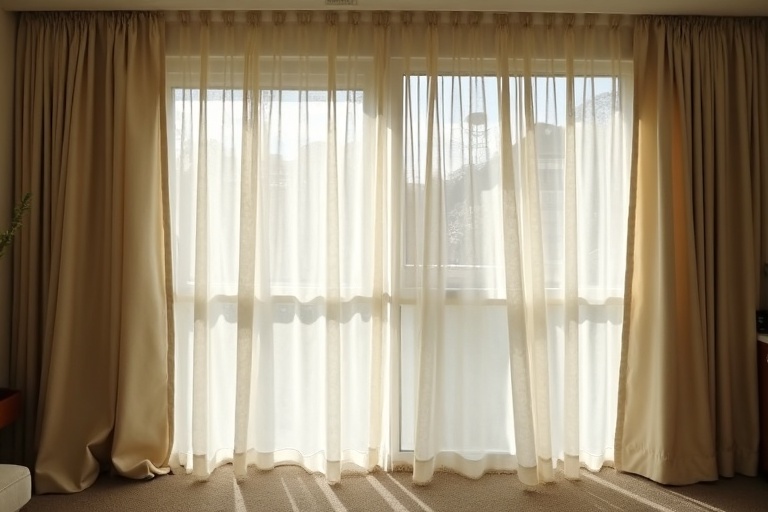
How to Remove Mould from Curtains Step by Step
Mould is more than an unsightly aesthetic issue on your window treatments; it is a serious biological hazard that can impact your indoor air quality and respiratory health. Because windows act as cold surfaces where moisture condenses, curtains frequently absorb condensation, creating a perfect damp environment for mould spores to grow. In this step-by-step guide, we explain how to remove mould from your curtains safely and effectively.
1. Understand the Risks of Mould on Curtains
Mould thrives in damp, dark, and poorly ventilated environments. When warm, humid indoor air meets cold glass window panes, condensation forms, which is immediately absorbed by the surrounding curtain panels. Combined with organic surface dust, this moisture provides a perfect breeding ground for mould fungi.
As the mould colony grows, it releases microscopic spores and volatile organic compounds (VOCs) into your indoor air. Every time you open or close the curtains, these spores are released into the room, where they can be inhaled. This can cause sinus congestion, throat irritation, persistent coughing, and serious asthmatic reactions, especially in young children and elderly family members. Act immediately to remove mould before it spreads or permanently rots the fabric fibers.
2. Step 1: Physical Safety and Carcass Prep
Before you begin the cleaning process, you must protect yourself from inhaling active mould spores. Always wear appropriate personal protective equipment (PPE), including a high-quality dust mask or respirator, safety goggles, and thick rubber gloves. If possible, perform the initial prep work outdoors to prevent spreading mould spores inside your living areas.
Take the curtains down from the rods. Outdoors, use a stiff-bristled brush to gently brush away loose, dry mould spores from the affected areas. Work carefully to avoid scattering the spores into the air. If the mould has penetrated deep into the fabric, focus on removing the surface crust first before proceeding to a wet clean.
3. Step 2: The Pre-Soak Treatment
Mould stains are notoriously stubborn because the fungal hyphae anchor themselves deep within the porous fabric fibers. To release these anchors, a pre-soak treatment is essential. Fill a clean bathtub or large plastic tub with cool or lukewarm water, and mix in an effective sanitising agent.
Two highly effective, fabric-safe home remedies include:
- White Vinegar Soak: Add two cups of white distilled vinegar to the tub. Vinegar is a highly effective, natural acid that kills up to 82 percent of mould species and neutralises musty odours.
- Oxygen Bleach Soak: For white or colorfast curtains, mix in a scoop of oxygen-based bleach powder. Oxygen bleach releases sanitising oxygen bubbles that lift organic stains without damaging fabric colors.
Submerge the mould-affected sections of the curtains completely, and allow them to soak for at least one to two hours, giving the sanitising solution enough time to kill the fungal cells.
Chlorine Bleach Warning
Never use harsh chlorine bleach on colored or delicate curtains. Chlorine bleach will instantly strip the color, weaken natural fibers, and can cause the fabric to dissolve or develop yellow patches. Stick to safe oxygen bleach or white vinegar to preserve your curtains' beauty.
4. Step 3: Gentle Agitation and Washing
After soaking, drain the tub and press the curtains gently against the bottom to expel the dirty water. If the curtains are machine washable (such as polyester or heavy pre-shrunk cotton), place them in the washing machine. Select a gentle or delicates cycle, use cold water, and add a mild liquid detergent. For delicate fabrics, hand wash the curtains in clean, cool soapy water, using a gentle kneading motion to lift the remaining mould stains. You should check the water periodically; if it becomes heavily discolored with mould-saturated sediment, drain and refill the basin with fresh soapy water to ensure the cleaning agents remain active. Rinse thoroughly with cold water at least three times to ensure all detergent and mold residues are eliminated from the fibers, as leftover soap can act as a nutrient source for future fungal blooms.
5. Step 4: Preventing Recurring Condensation and Mould Growth
To ensure that your hard work is not wasted, you must address the underlying moisture issues that allowed the mould to grow in the first place. Without addressing the root cause, new mould colonies will develop on your curtains within a few weeks of cleaning. Ensure your windows are insulated and sealed properly to minimize cold spots. Wipe away water condensation from window panes and sills daily with a dry towel. Open your curtains during the day to allow air to circulate freely behind the panels, and open windows for a few minutes daily to reduce indoor humidity. Running a dehumidifier in high-moisture rooms is also highly effective, maintaining a dry environment that protects your curtains from future fungal growth. You can also use moisture-absorbing silica gel packs placed discreetly on the window sill behind the curtain panels to catch localized humidity before it touches the fabric. By maintaining this consistent low-humidity environment, you create an inhospitable zone for spores, effectively safeguarding the fabric weave from recurrent biological colonization.
6. Step 5: What to Do If Stubborn Mould Stains Remain
For heavy, long-standing mould infestations, a simple soak may not completely remove the dark, organic stains left behind by the fungal hyphae. If the fabric is white cotton or a durable synthetic, you can apply a specialized spot-stain treatment. Create a paste by mixing baking soda with a few drops of fresh lemon juice, and apply it directly to the remaining dark spot. Let it sit for 30 minutes in direct sunlight, which naturally bleaches the organic pigment without damaging the fibers. After the time has elapsed, gently blot the area with a damp cloth to remove the paste. For colored or highly delicate fabrics, do not rub the spot; instead, seek professional dry cleaning or restoration services, as they possess specialized, gentle enzyme formulations designed to dissolve mold stains safely. These professionals can often utilize high-precision cleaning chemistry that target the fungal protein structures specifically while leaving the decorative dyes entirely unaffected.
7. Step 6: Drying and Restoring the Panels
Hang the clean curtains outdoors in a well-ventilated space to dry. If the curtains are white or light-colored, hang them in direct sunlight. Natural ultraviolet (UV) rays are an exceptionally powerful, natural disinfectant that will kill any remaining microscopic mould spores on contact. However, if the curtains are brightly colored, keep them in a shady, breezy spot to prevent color fading. To prevent mould from returning, consider applying a fabric-safe antimicrobial spray on the reverse side of the hem, which acts as a barrier against moisture condensation. Once dry, rehang the fresh, sanitised panels, restoring your home to a clean and healthy state. Finally, perform a final inspection of the curtain headers and rings to ensure they are clean, as mould can occasionally hide in the crevices of the hardware, leading to re-contamination if left untreated.